Skip to main content
Windows Printing (2025)
Before we install the PaperCut Print Deploy software, we are going to clean up the old printers if you have them. If you have never installed any of the print software from WLS, you can skip to the install instructions.
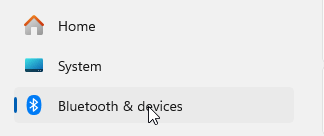
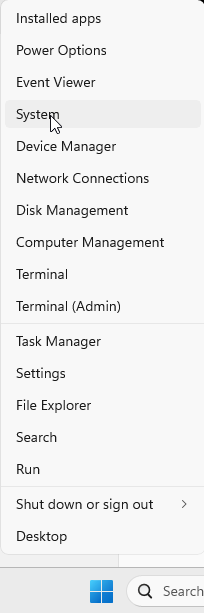
Right click on the Windows Logo (Start button) and select System from the menu.
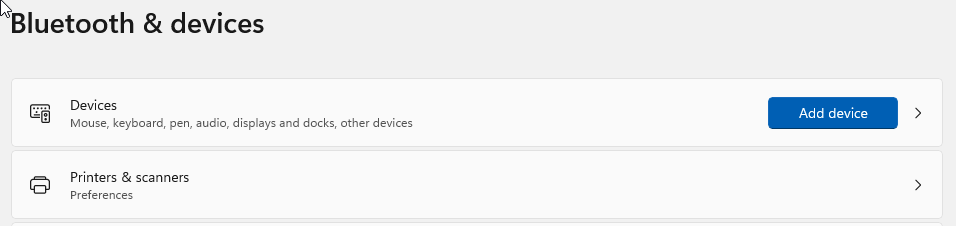
From the next screen, select Bluetooth & devices

From the Bluetooth & devices menu, select Printers & scanners.
From the Printers & scanners screen, select any printers that have [WLS-PS25](Mobility)
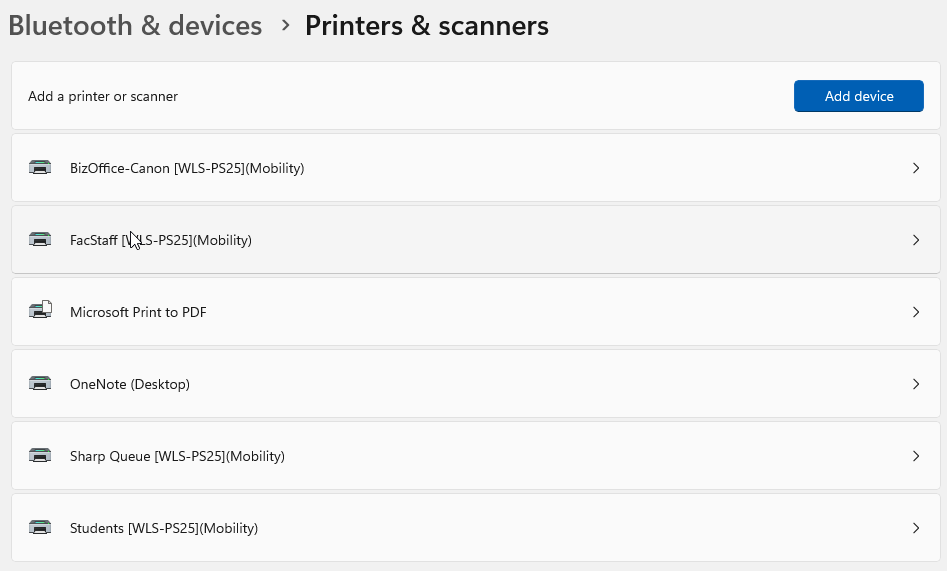
Click on the Remove button. These printers are no longer an option for printing.

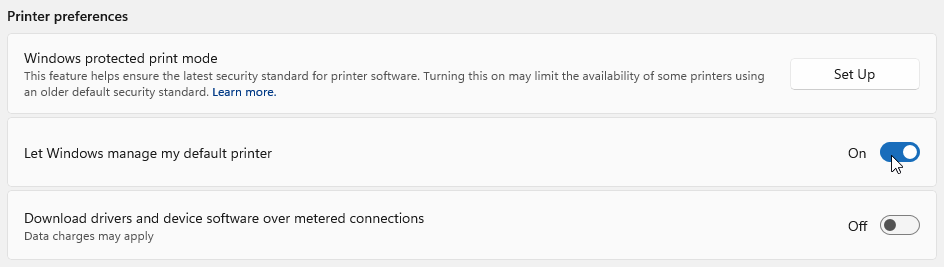
Once you have removed all the devices with the [WLS-PS25](Mobility) tag, go back to the Printers & scanners window. Under the Printer preferences header, click the 'Let Windows manage my default printer' slider so it is off. Windows tries to control the default printer and it can cause some issues.
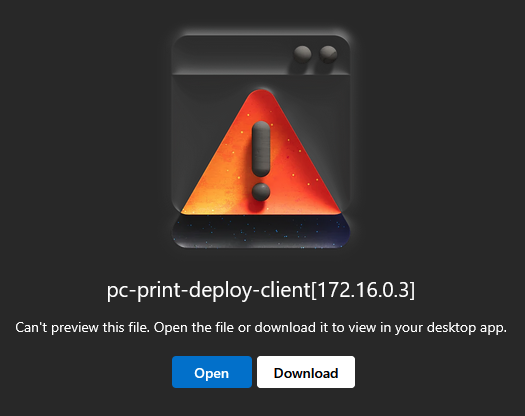
We will now install the PaperCut Print Deploy software. Make sure you're logged into your @WLS account and download the Windows installer using this link -> PaperCut for Windows
YouClick download, OPEN WILL NOT WORK!

Once the download is complete, click on the installer.

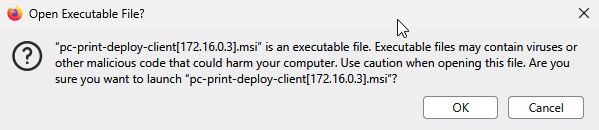
Depending on your browser, you may be prompted to clickverify that you want to open orthe downloadexecutable file. This is a trustworthy executable file, click OK.
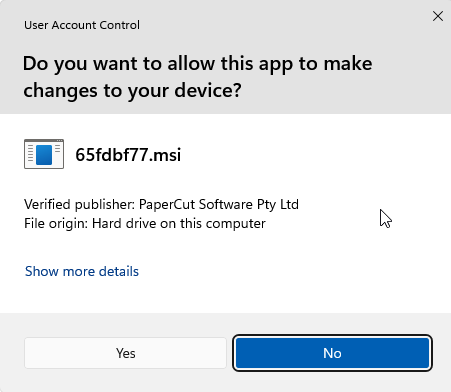
If you have User Access Control enabled, you will be prompted to startallow the installapp process.to Eithermake changes to your device. Click Yes.
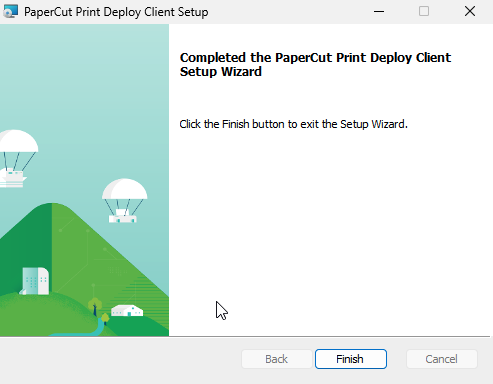
It is a pretty quick install. Click Finish when the installer has completed.

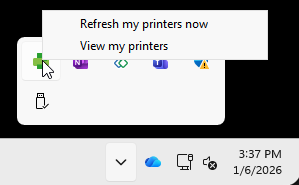
If the PaperCut Print Deploy Client doesn't deploy automatically, you can find it in the taskbar by the clock in the lower right of your screen.Right click on it and select 'View my printers'.

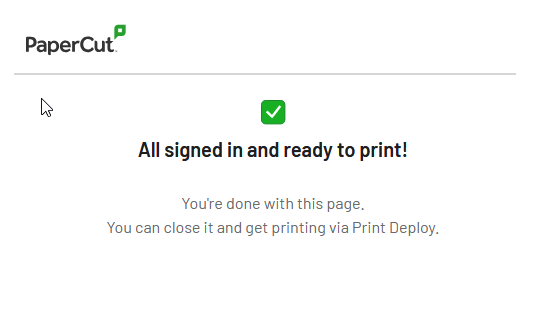
Click on the Sign in with Microsoft button.
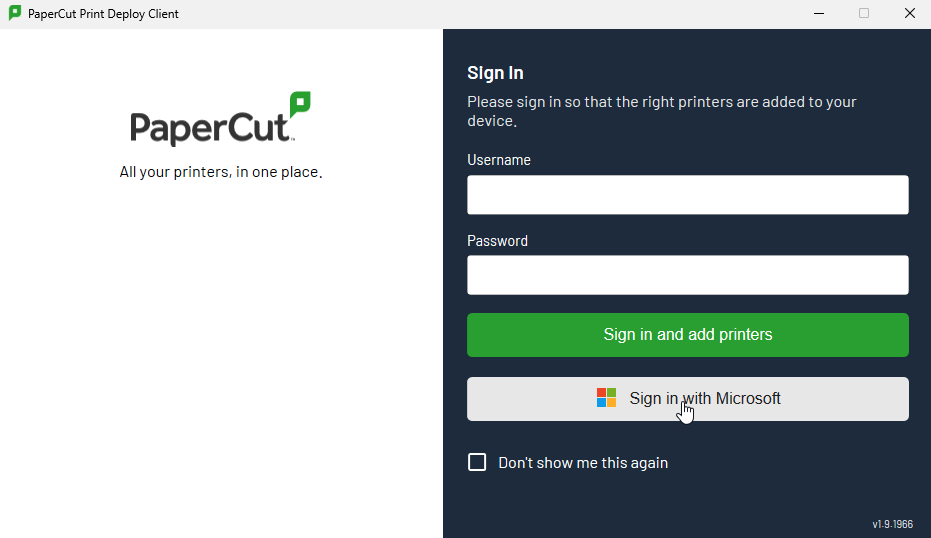
It will work.direct you to sign in. If you are already signed in, it will show you this page.
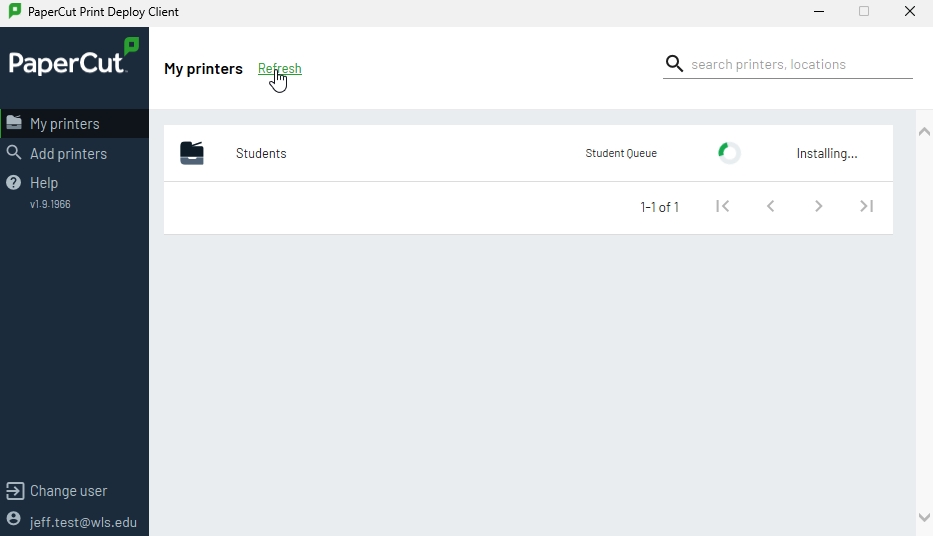
Once the client has been logged in, it will start to install any printers you have access to.
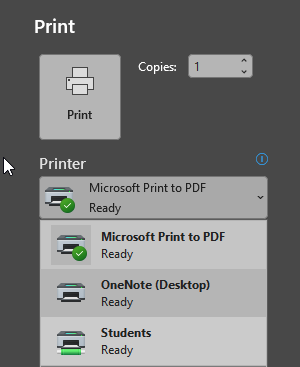
Once the installation has been completed, you can send a test job to the print queue. Open Microsoft Word or any other program you wish to print from. On your keyboard, select Control-P to print or use the menu. Make sure to select the print queue that was installed.

Once you have clicked the print button. The job should be viewable in the queue.